
 A website redesign or site migration can have a huge affect on the organic rankings and traffic of the site. However, whether the effect is positive or negative depends on the planning and execution of the site migration. The introduction of new content, change in site structure and assets such as file and image types and sizes can dramatically affect both site speed and rankings.
However, a thoroughly planned and well executed website redesign can improve user experience, lower bounce rate and increase conversion rate. Below is our list of 10 ways to minimise risk, and maximise return on investment, during a website redesign.
1) Open Communication Between Web Developer & SEO Consultant
The very first thing you should do when planning a website redesign is to open a line of communication between your SEO consultant and web developer. Aside from being penalised by Google, a poorly planned website redesign is one of the hardest things for a website to recover from in terms of lost organic rankings and site traffic.
That’s why it’s important to keep your SEO consultant in the loop throughout the whole redesign. Additionally, communication between your web developer and SEO means that any initial SEO issues can be identified and addressed during the redesign. This is much easier and less time consuming than rectifying technical SEO issues when the redesign has already been completed, and will ensure that any delays to the launch of the new website are minimised.
2) Back Up Original Website Information
Before implementing any SEO efforts on the redesigned website you will need to take stock of the existing website to use as a baseline in the monitoring of the new site. To do this, simply use a site crawling tool to create a list of all of the original website’s URLs, metadata and structure.
Creating a backup document with the original URLs and meta data is important as, once the new website has been launched, you can refer back to the original site information. This will allow you to pinpoint the cause of any changes in traffic or rankings for a particular page of the website by identifying any changes between the original page details and the new page.
Additionally, a website redesign can also affect URL structure, so having a backup of the original site structure can be used to pinpoint the cause of any negative ranking affects after the new site has been launched.
3) Audit The Original Website
The next step in orchestrating a seamless website redesign is to perform a full site audit and fix any identified technical SEO issues before the new site is launched. You can use the spreadsheet created in step 2 to record any identified issues for each URL on your website during your site audit.
Some of the issues you should be checking for in your audit include:
- Missing or duplicate page titles
- Page titles with more than 60 characters
- Page titles with less than 50 characters
- Missing or duplicate H1 tags
- Multiple H1 tags
- Missing or duplicate meta descriptions
- Meta descriptions over 160 characters
- Broken internal/external links
- Missing image alt text
In order to achieve the best results from your website redesign it is important to fix any of these issues before the new site is launched.
4) Manually Site Check
Once you have crawled your original website and fixed any identified issues you will need to perform the following manual checks:
- Check that each of the URLs in the list you made have been indexed by Google. To do this, simply type in “site:yoursite.com” into Google and each indexed URL will appear as a result
- Check the performance and speed of each page on your website
Record your findings as you will repeat this step with your new website once it has been launched in order to compare the performance of each site.
5) Create A Temporary Website For The Redesign
When redesigning your website it is essential that a temporary URL is created to isolate any changes from the original website until the new site is completed. This will allow you to make any adjustments necessary to the new website without having to worry about affecting the rankings of the original site.
The temporary website that you create for the redesign should also be no-indexed. No-indexing a page or website is essentially telling search engines not to crawl or rank that content. This is extremely important because if the temporary site is indexed, once your redesigned website is launched the content will have no value, as it will have already been indexed and instead will be viewed as duplicate content.
For most sites, the CMS will allow you to check a “no index” box in order to discourage search engines from indexing the site. Alternatively, you can add the following code to your robot.txt file:
>User-agent: *
>Disallow: /
If there is no CMS, simply add the above code to the header file.
6) Set Up 301 Redirects
If any URL on your website is changed during the redesign you will need to redirect the original page to the new URL. Redirecting the old page to the new one will ensure that users are not sent to a 404 error page when searching for the original content. More importantly, redirecting the old page to the new location will transfer any link equity and authority earnt on the original page to the new page. This will ensure that you won’t be starting from scratch in terms of page authority just by changing the URL.
Additionally, redirecting old pages indicates to search engines that the website location has been changed which will help to maintain the authority of the website. The last thing you want is for the redesigned website to be indexed as an entirely new website, as this means that you will lose all previous SEO efforts and have to rebuild your new website authority from scratch or revert back to the old site.
As such an essential step in a website redesign, if you’re not sure how to correctly set up a 301 redirect, ask your web developer to ensure that it is done right.
7) Manually Change Internal Links
Site structure plays a very important part in the user experience and organic rankings of your website, so it goes without saying that replicating or improving site structure is a must in a website redesign. However, redirecting internal links creates a link chain that will negatively affect page load speeds and user experience.
This means that the best way to maintain the structure of your website, without affecting rankings and UX, is to manually change any affected internal links rather than redirecting them. This can be a time consuming process, however, it is a necessary step to ensure the smooth transition between the old and new websites.
8) Launch New Site
Once all redirects have been correctly set up and the website redesign is complete it’s time to launch your new website.
Note: if any of your redirects or page optimisation has not been properly completed or tested, it is better to delay the new site launch than to cause instant damage to your rankings that could take weeks or months to recover from.
9) Post-Launch Checks
Once the new website has been launched it is time to go back to the spreadsheet of data that you collected from the original website (step 2) to ensure that each URL from the old site has successfully been added to or redirected to a new page of your redesigned site.
This is where you will be able to identify any broken links or incorrectly implemented 301 redirects and fix these changes before the new site is indexed. However, this can be a time consuming task so it is important to check and fix any issues (such as broken links or slow page speed) on your highest authority pages first, as a mistake on one of these pages could severely damage your SEO efforts.
Although you will have already checked this before the site was launched, the results may differ between the temporary site and the main site due to the server and hosting changes.
10) Resume Crawler
Now that you have launched your new site and addressed any initial issues such as incorrectly performed redirects and other issues that may have resulted from the server and hosting changes, it is time to allow search engines to crawl the new site.
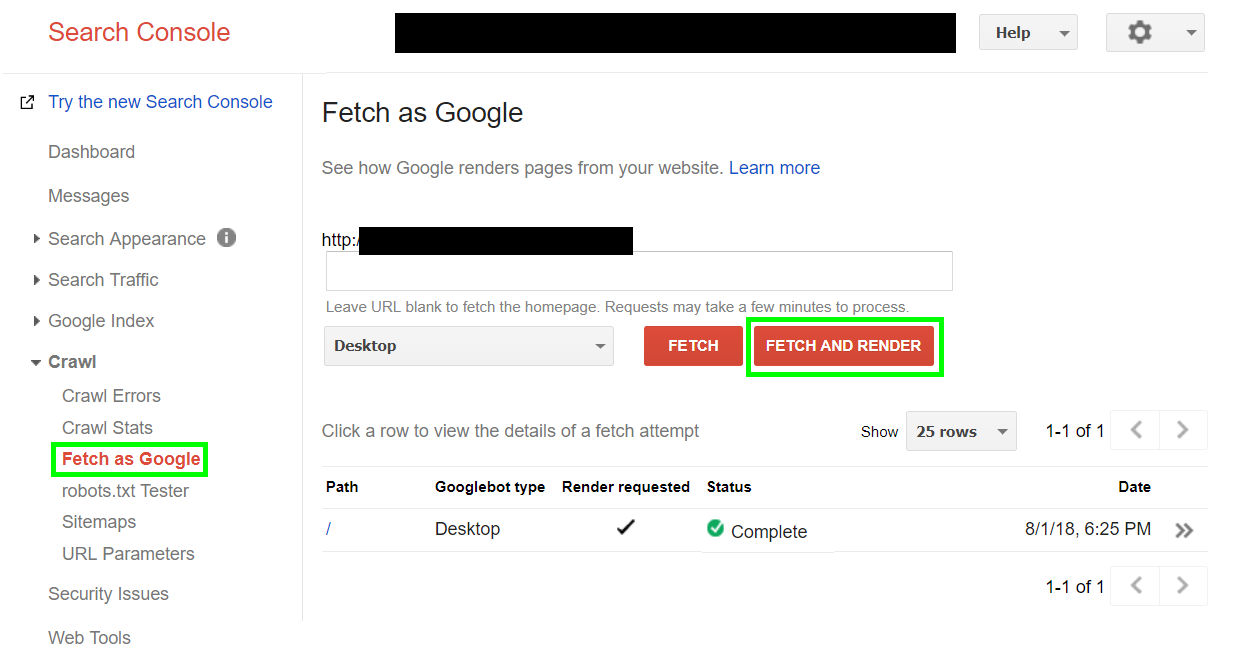
To ensure that your new website is crawlable you will need to uncheck the no indexing box or remove the no-index code that was added to your header file in step 5. To check that your website is now able to be crawled, log in to search console and select the “Fetch As Google” feature in the side navigation menu, then click the “Fetch and Render” button (see image below).
If the fetch attempt is successful then your website is completely crawlable. To re-submit your website to Google’s index simply click the “request indexing” button.
Once your site is launched and crawlable, you can revert back to your ongoing SEO plan while monitoring any changes that may occur due to the site redesign within the following month or two. Be sure to keep a close eye on any unexpected drops or increases in organic rankings using the data from the original site as a comparison.
If you do notice any significant fluctuations in rankings, use the spreadsheet created in step two to analyse any changes made to the affected page. If rankings for that page have increased, consider implementing the same changes on other high performing pages. Or if rankings drop, consider reverting back to the original page optimisation.
Note: This article was created for website redesigns where the website’s URL will not be changed once the redesign is completed. If your website is migrating to a new URL there are additional steps that must be taken to ensure that the SEO of your site is not affected. Eg. redirecting each page on the old website to the corresponding page on the new website.