
If you’re a business owner and you don’t already have a Facebook business page, you are missing out on a huge chunk of market share. Not only can a Facebook business profile promote your brand, it can also be used to advertise to people who have recently visited your website and secure new leads.
Follow our step-by-step guide below on how to set up a Facebook business profile.
1) Log In or Sign Up
The first thing you need to do when creating a business profile on Facebook is log in to your personal Facebook account. If you don’t have one, you will need to create one (click here to create an account).
 2) Create A Business Page
Once you have signed in or created a new personal account, click “create” at the top right hand corner (see image 2) to create a page or visit facebook.com/business.
Image 2:
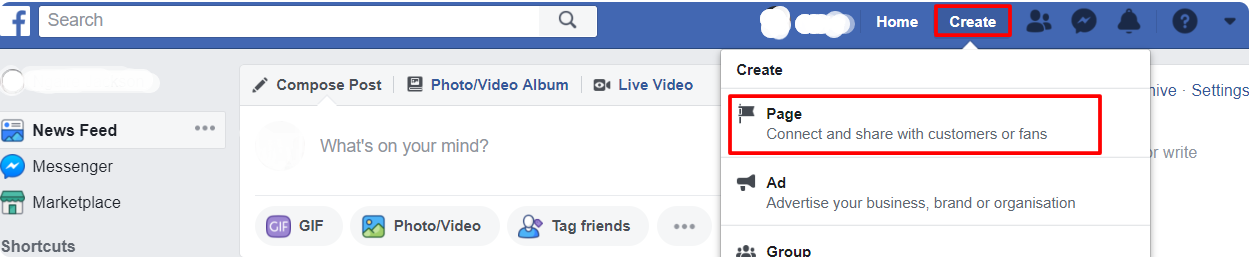
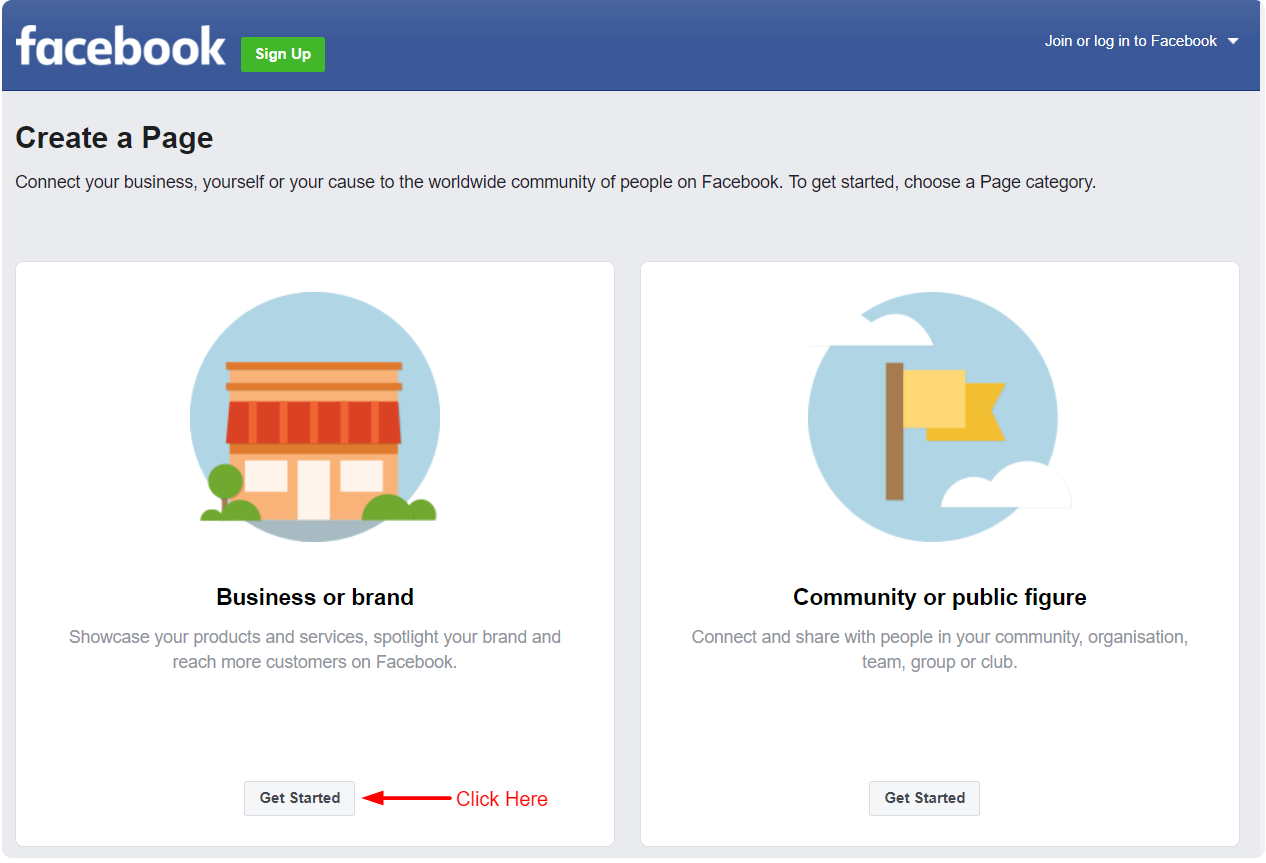
You will then be redirected to a new page with the option to create a business page or a community page. Select “business or brand” on the left hand side (see image 3).
Image 3:
3) Enter The Business Name
Next you will need to enter your business name and select a category. Simply type your business name into the box provided (see image 4).
Image 4:
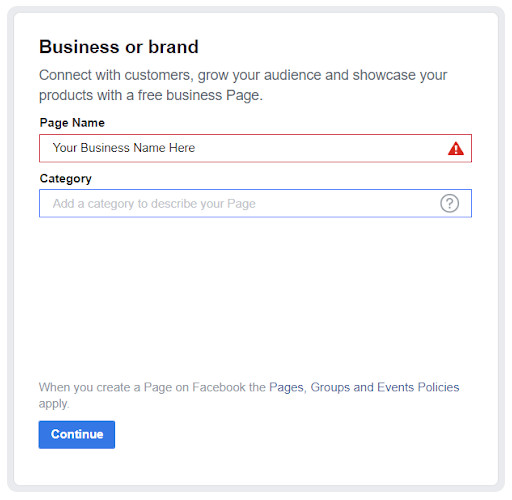
Top Tip: Make sure that the entered business name is identical to the business name on your website and other platforms (using the same abbreviations eg. Toy Co. or Toy Company). This will ensure that customers and search engines alike will be able to easily recognise your brand.
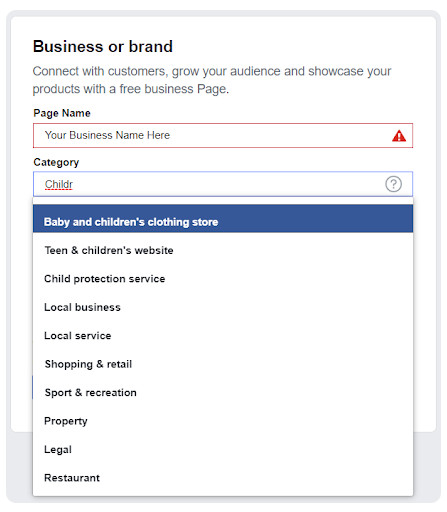
You will also need to select a category for your business. Simply start typing your main product or service and select from the drop down list (see image 5). If more than one option applies, pick the most relevant one. If you’re not sure which category to choose, check the category used by similar businesses on Facebook.
Image 5:
4) Fill Out Additional Information
Once you have selected a category, additional boxes will appear requiring more information about your business including address, postcode and phone number (see image 6). Fill out as much information as possible to ensure that potential customers know how to contact your business.
Image 6:
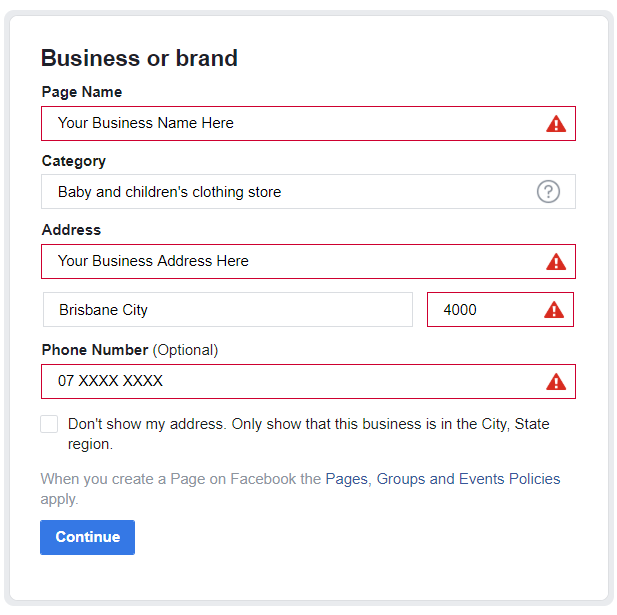
You may also select the checkbox to hide the business address and only display the city, state and region. This is useful for service or home based businesses that don’t have a physical location for customers to visit.
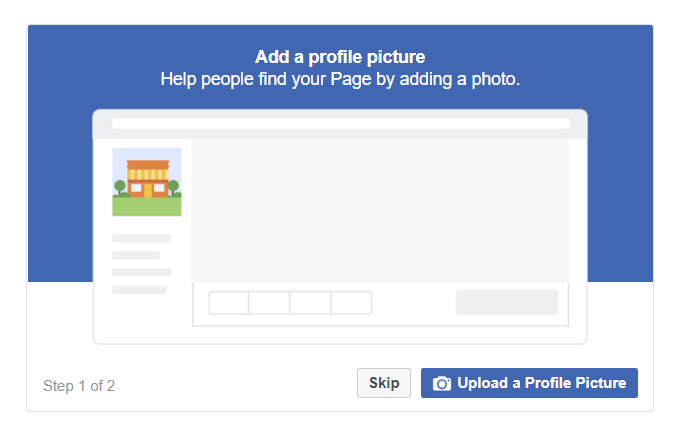
5) Add Images
Next, you will be prompted to add a profile picture (see image 7). If you don’t have an image on hand, you can skip this step by clicking the grey “skip” button at the bottom of the page.
Image 7:
Similarly, you will be asked to upload a cover photo. If you don’t have one, there is also an option to skip this step. Note: pages with profile pictures and cover photos typically get more likes and visits.
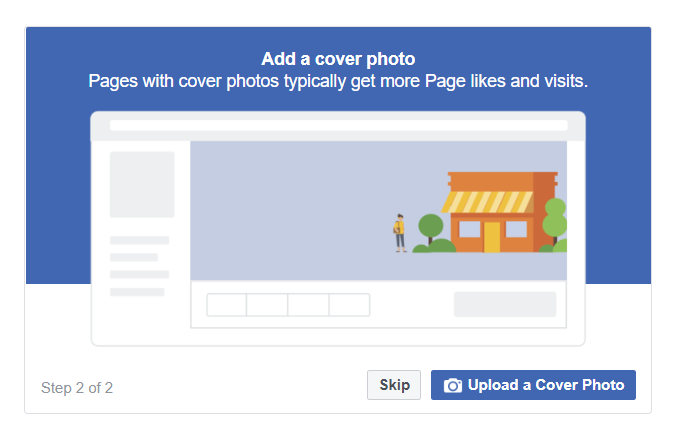
Top Tip: This is a great opportunity to display your brand logo to increase brand recognition and build authority.
Once you have added your profile and cover photos, you have successfully created a Facebook business page. However, there are a few things you can do to improve the user experience of your Facebook page (listed below).
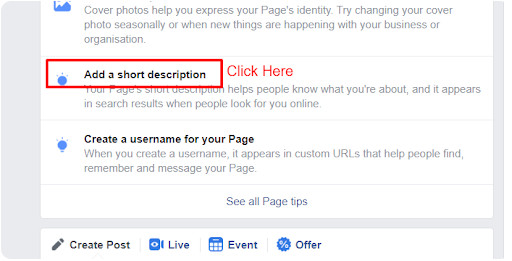
6) Add A Short Description
Now that your business page has been created, add a short description by following the prompt on your dashboard (see image 8).
Image 8:
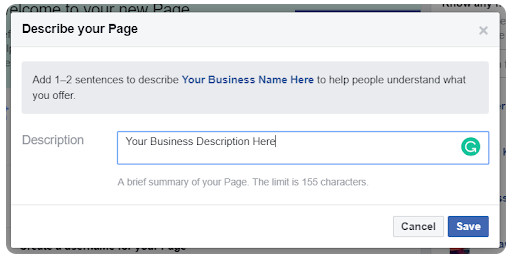
A box will appear where you can add you business description to help people understand what you offer (see image 9). Note: there is a character limit of 155 characters.
Image 9:
You will then be prompted to add more page info. To do so, click “Edit Page Info” on the pop-up window. Next, you will see a new pop-up window with a range of different details you can fill out including adding additional categories, impressum, website, email, trading hours, and price range.
It is important to provide as much information as possible to ensure that people visiting your page can find all the information they need to know about your business in one place.
7) Create Your Username
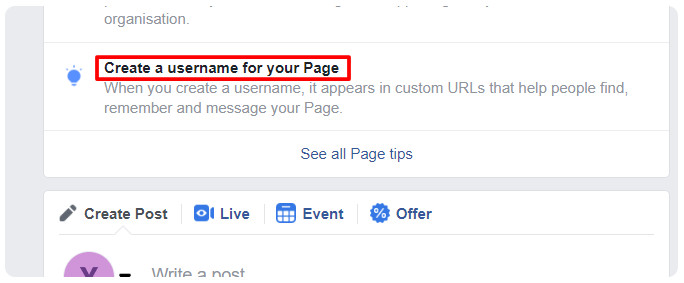
Click the create your username prompt on your dashboard (see image 10) to help people find, remember, and message your page.
Image 10:
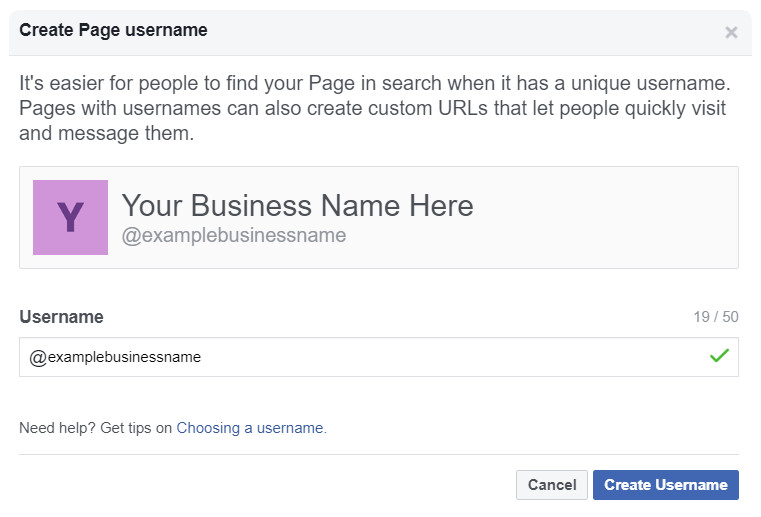
A box will appear where you can enter your business name (see image 11). Be sure to keep it simple and as close to your actual business name as possible (or an obvious variation). This will ensure that anyone looking for your business will be able to easily find it.
Image 11:
8) Complete ‘About’ Section
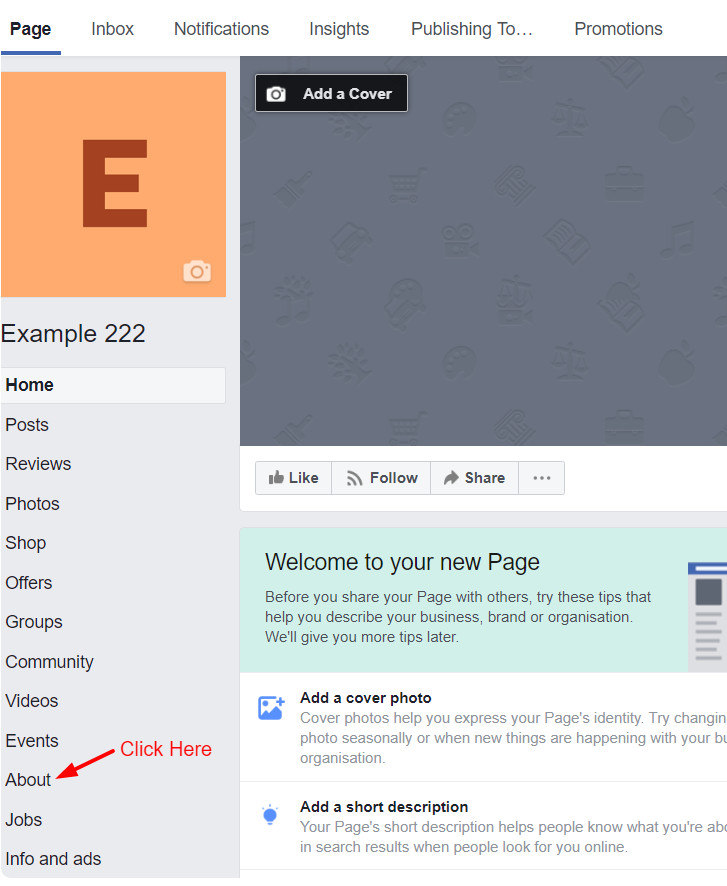
To complete the information in the ‘about’ section click “about” in the side navigation (see image 12).
Image 12:
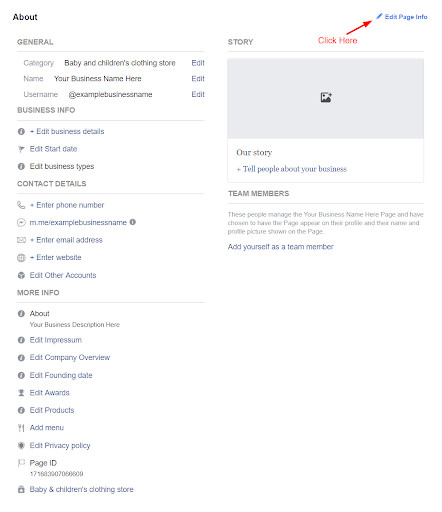
You will then be taken to a page with all of the current information about your business. To edit or add new information click the “edit page info” button in the top right hand corner of the page (see image 13). Facebook is often the first place that customers will get information about your business so it’s important that you fill out as much information as possible.
Image 13:
Once you have filled in all of the information in the about section of your new business page, your page is complete.
Coming Soon: How to optimise your Facebook business page.